Install Multiple JDKs on Mac!
Unlock Your Java Potential: Install Multiple JDKs on Mac in Minutes!
Are you a Java developer or consultant who often needs to switch between different JDK versions? This comprehensive guide will show you how to effortlessly install and manage multiple JDKs on your Mac. Whether you’re modernizing applications or testing across various environments, having multiple JDKs at your fingertips can save you time and hassle. With step-by-step instructions and helpful tips, you’ll be set up in no time!
I’ll cover how to install multiple JDK versions on a Mac, however, a similar process can be followed for Linux or Windows.
Let’s get started.
Homebrew
If you’re on Linux, you can use your preferred package manager, such as yum, dnf, apt, zipper, winget, etc. For Mac users, consider using Homebrew or a similar package manager to easily install Java, Python, and other programming tools.
Get https://brew.sh/[Homebrew].
Once Homebrew is installed, you can run the following command:
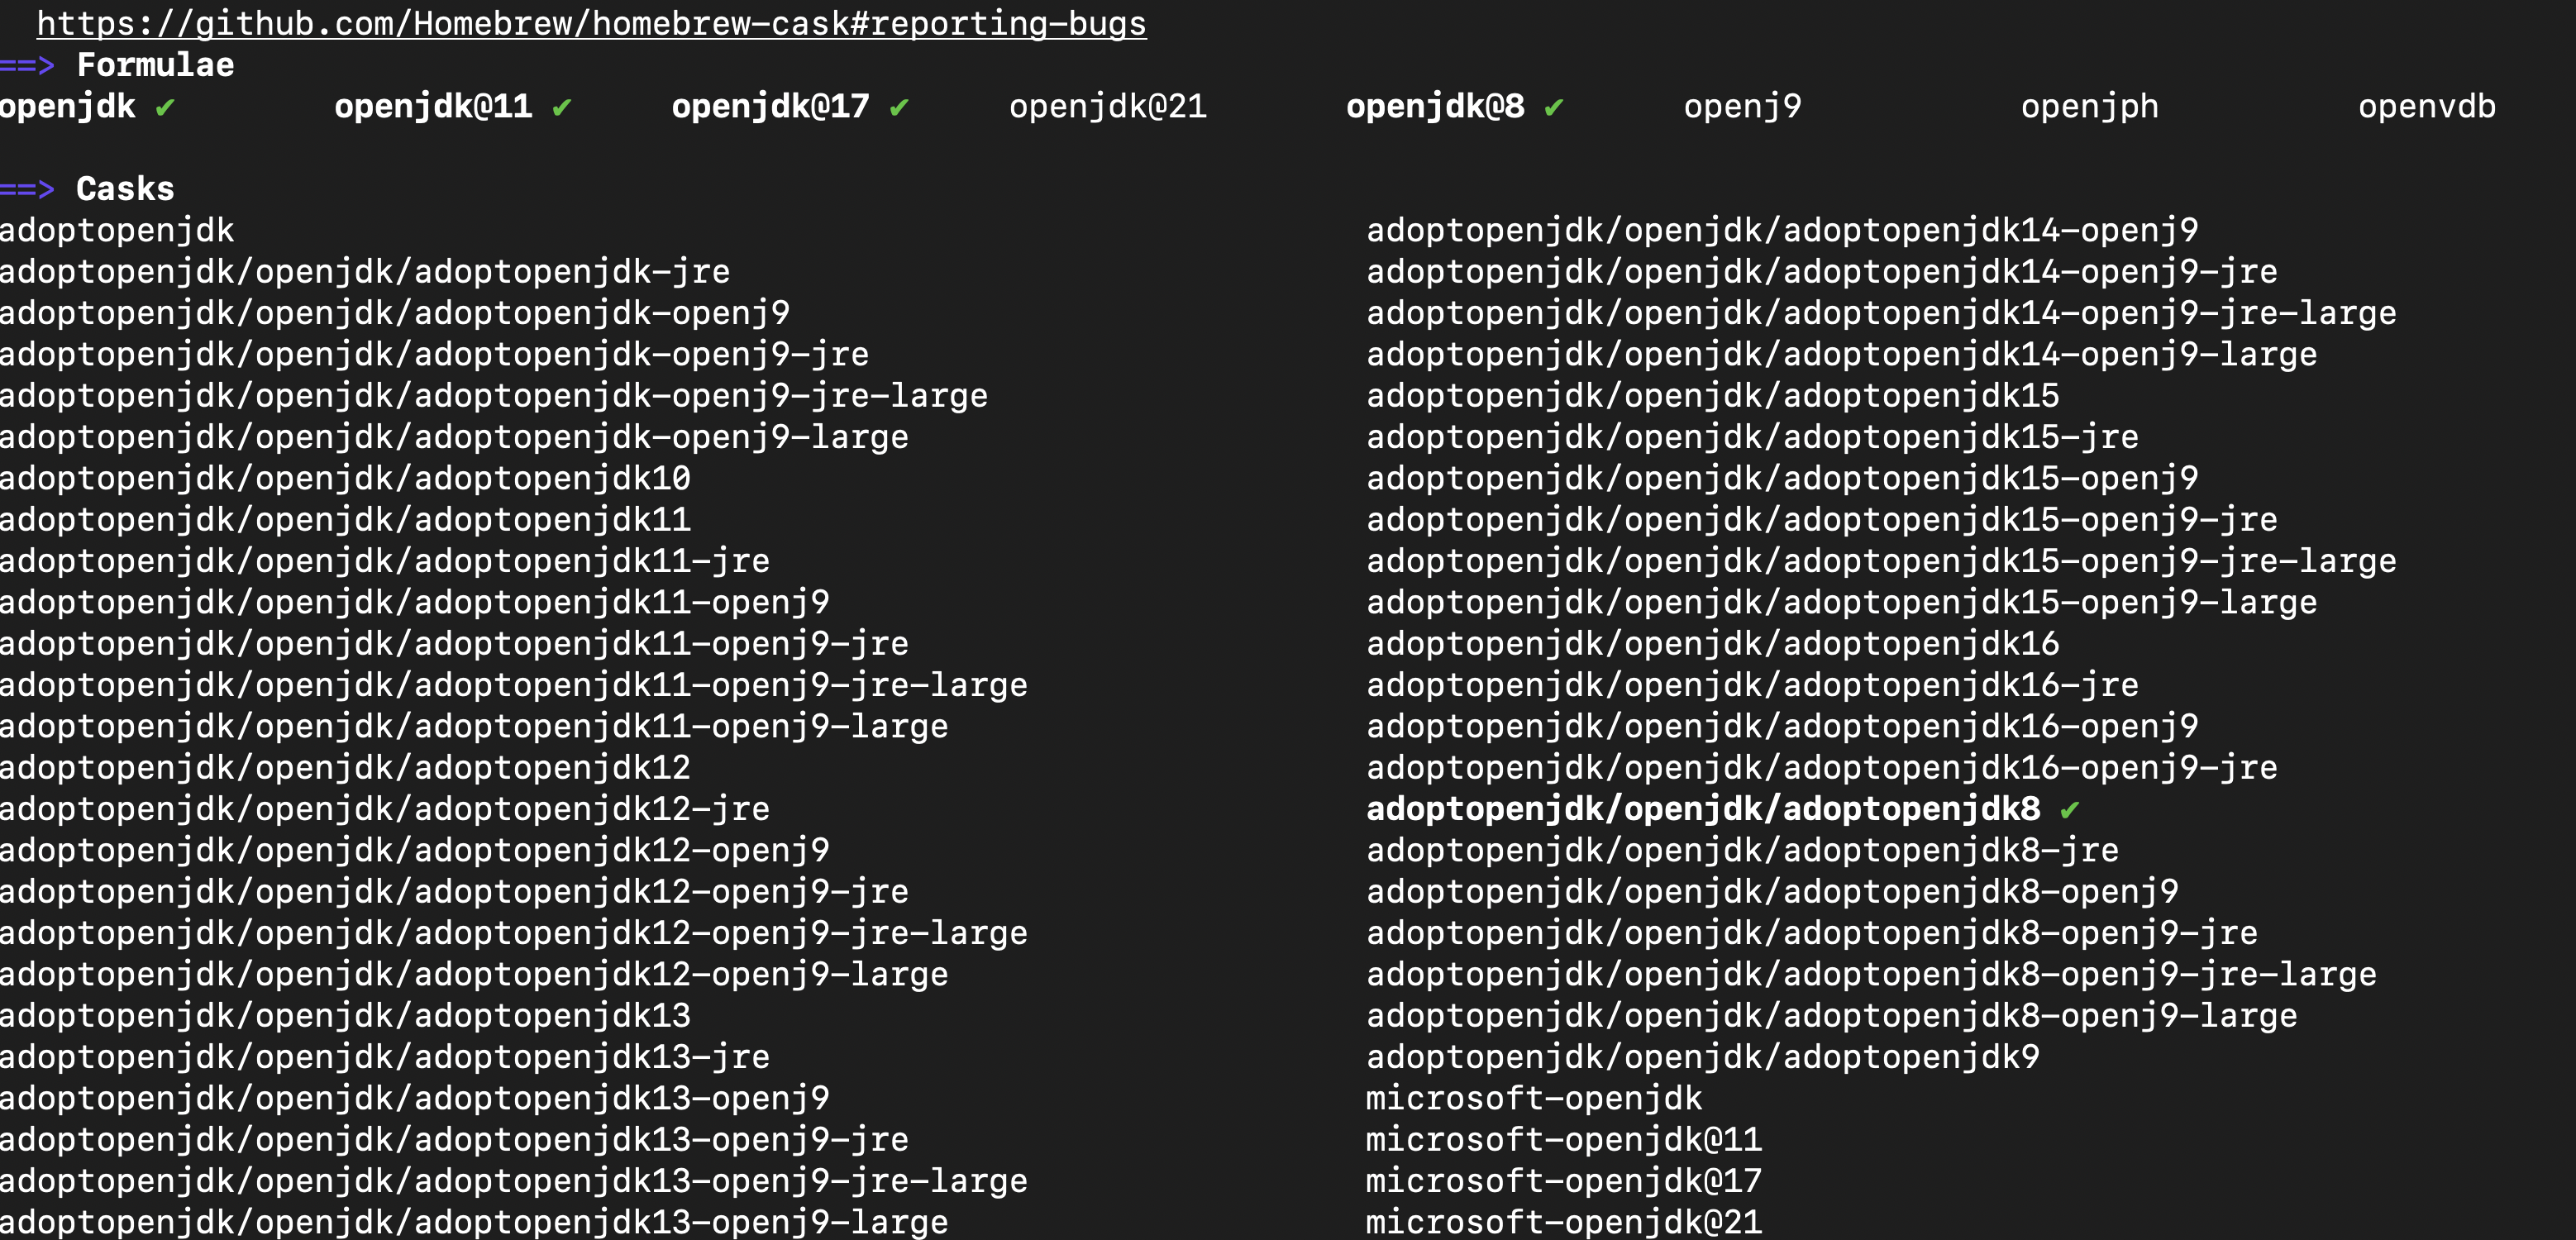
brew search openjdkThe output should look similar to this:

Choose the JDK version you want to install and type this, before install it.
brew info --cask adoptopenjdk8-
brew: This is the command-line interface for Homebrew, a package manager for macOS and Linux that simplifies the installation of software. -
info: This command requests detailed information about a specific package or cask installed via Homebrew. -
--cask: This flag specifies that you are referring to a cask, which is used for installing GUI applications and other software that does not fit the standard formula model in Homebrew. -
adoptopenjdk8: This specifies the particular cask for which you want information. In this case, it refers to AdoptOpenJDK 8, which is an open-source distribution of the Java Development Kit (JDK).
Install JAVA
Running brew info --cask adoptopenjdk8 before executing brew install –cask adoptopenjdk8 serves a specific purpose, primarily for gathering information and ensuring a smooth installation process.
Then, install the JDK by running this command:
brew install --cask adoptopenjdk8Remember to replace the JDK version number at the end with the one you need
install: This command tells Homebrew to install a specified package or cask.
You may need to run brew update first to access the latest Homebrew catalog and versions.
Once that’s complete, use which java (works on both Mac and Linux) to locate the JDK installation path, and type java --version to confirm the installed version.

Repeat this process to install additional JDK versions as needed.
To find the JAVA_HOME path for each JDK installation, run the following command:
find / -type d -iname "adoptopen*" 2>/dev/nullCopy the path and configure your JAVA_HOME in your .bash_profile. You can edit the file using vi or vim with the following command:
vi ~/.bash_profileAdd the JAVA_HOME like this:
#Setting PATH for JAVA
#export JAVA_HOME=/Library/Java/JavaVirtualMachines/adoptopenjdk-14.jdk/Contents/Home
#export JAVA_HOME=/Library/Java/JavaVirtualMachines/adoptopenjdk-8.jdk/Contents/Home
export JAVA_HOME=/Library/Java/JavaVirtualMachines/openjdk-17.jdk/Contents/Home

export PATH=$PATH:$JAVA_HOME/bin
Finally, when you want to switch JDK versions, simply comment out the line for the currently active JDK and uncomment the line for the JDK you wish to use.
After editing the file, run the following command to reload it, and then check the Java version again.
Conclusion
In today’s fast-paced development landscape, being able to manage multiple JDK versions is not just a convenience—it’s a necessity. By following this guide, you’ve learned how to easily install and switch between different JDKs on your Mac, allowing you to test applications across various environments and ensure compatibility with your clients’ setups. This flexibility can significantly streamline your development process, making it easier to modernize legacy applications while embracing the latest features in Java.
Now that you’re equipped with the knowledge to handle multiple JDKs, you can focus on what truly matters: writing exceptional code and delivering quality applications. If you have any questions or need further assistance, feel free to reach out.
I hope this helps! Thank you, and see you next time.
This page was last update at 2025-11-14 14:52